How to install Cisco AnyConnect VPN Client manually on Mac OS
Step-By-Step Installation Guide For Macintosh
Download the Cisco AnyConnect file: Download version 3.1.00495 Download version 3.1.02026
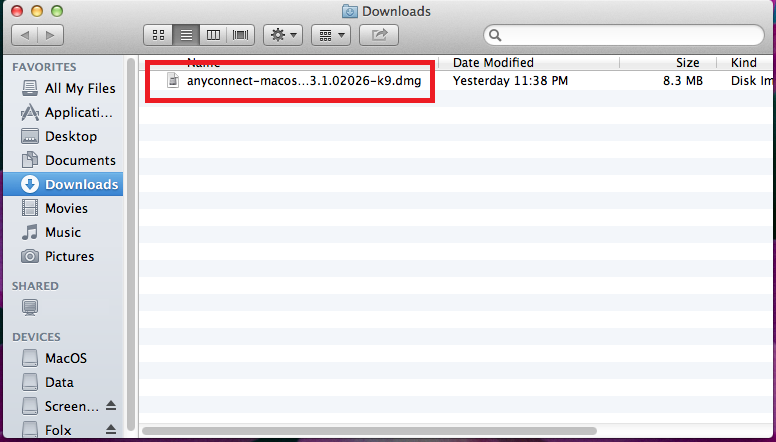
Once the download process is complete, open your Downloads folder and double-click the AnyConect dmg file.
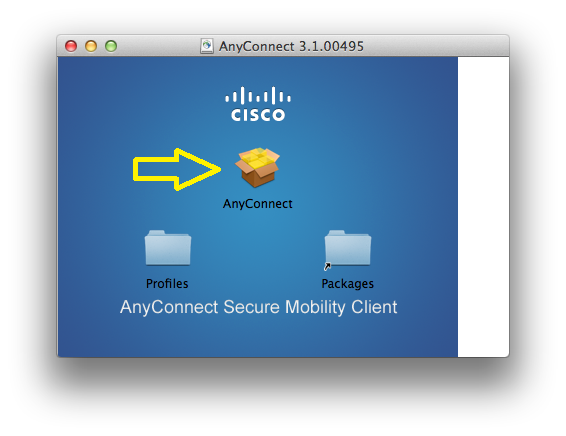
Proceed by double clicking the AnyConnect
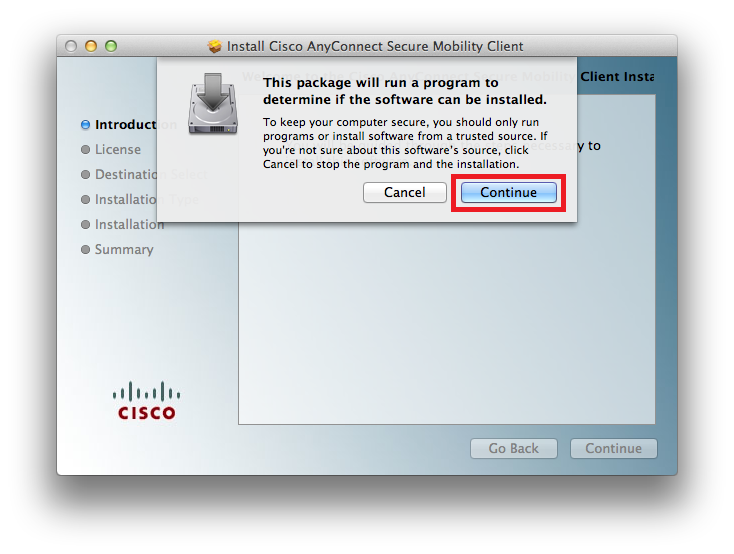
On the “Install vpnclient” window, you will be prompted by the message: “This package will run a program to determine if the software can be installed…” Click Continue.
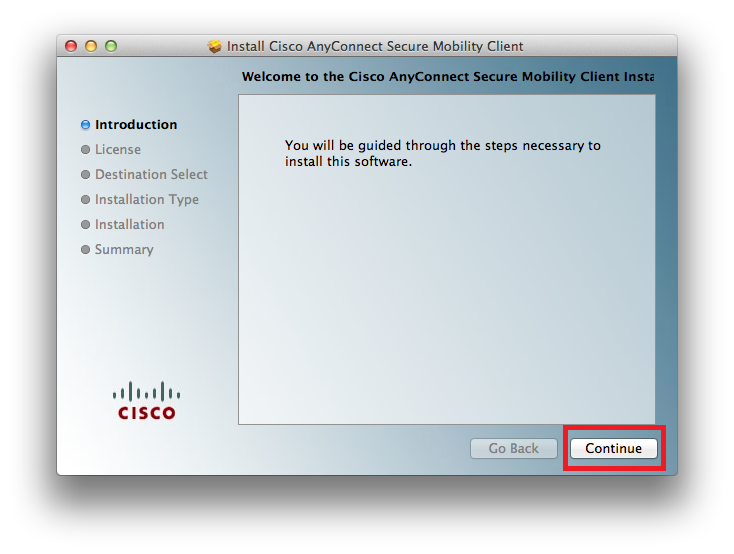
On the following screen titled “Welcome to the Cisco AnyConnect….”, click Continue again
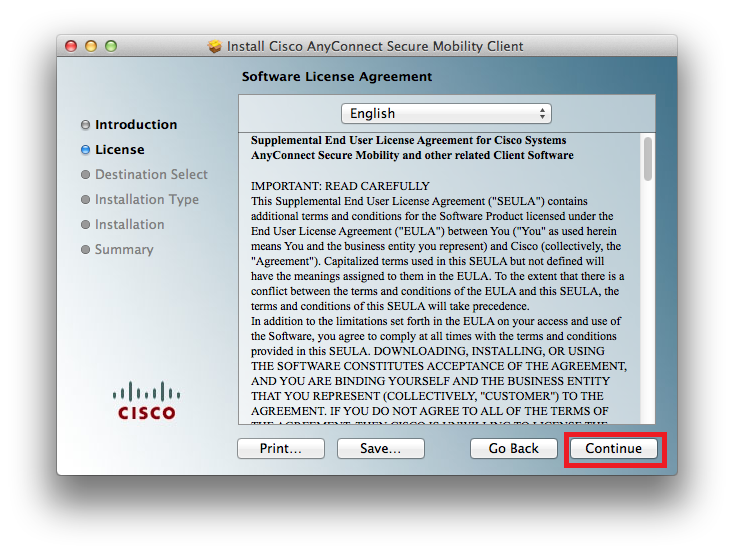
When presented with the software license agreement, click Continue then click Agree on the slide-down menu.
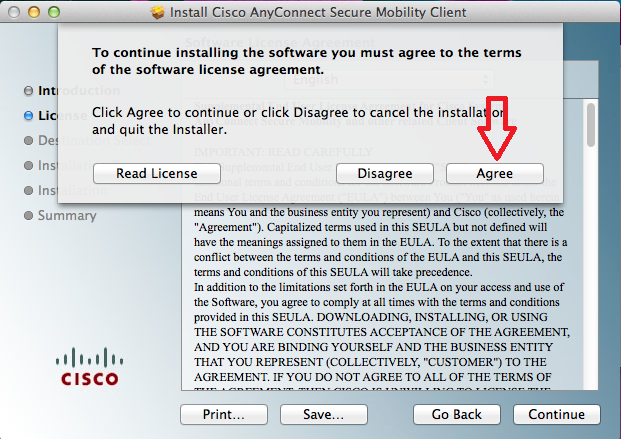
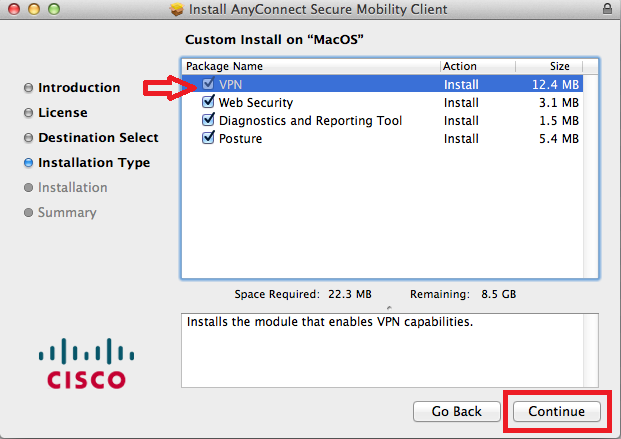
Put the check in the box “VPN” and click on the “Continue ” button
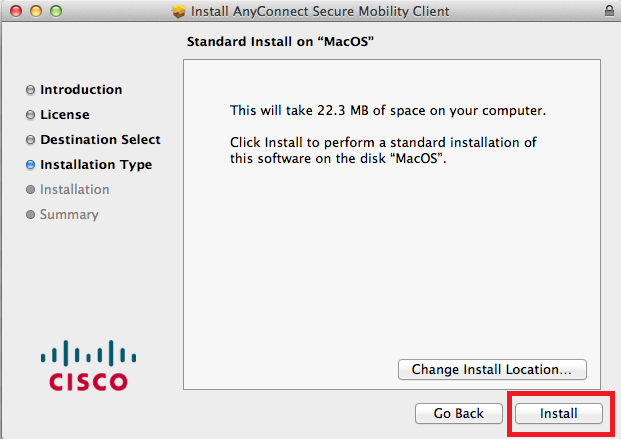
On the window titled “Standard Install on “MacOs””, click Install and enter your computer username and password when prompted. (NOTE: the user must be an administrator of the machine to install).
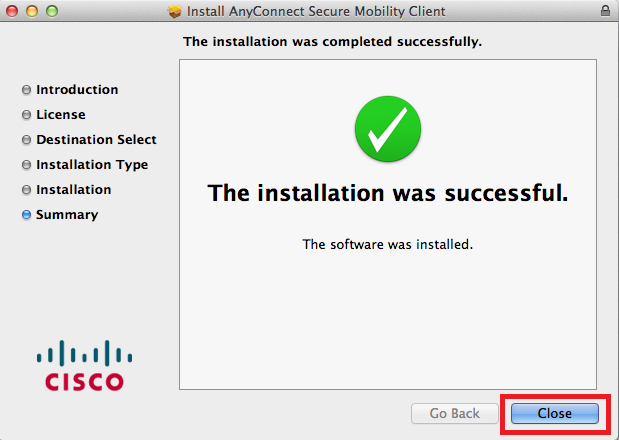
When the installation has competed, click Close.
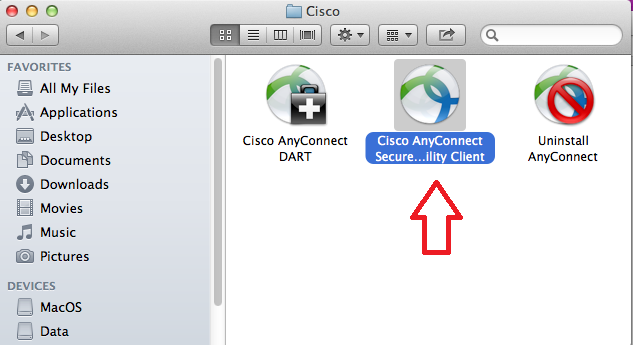
Cisco AnyConnect can be found in the Cisco folder located in the Application folder.
Navigate to /Applications/Cisco/ and open “Cisco AnyConnect VPN Client”.
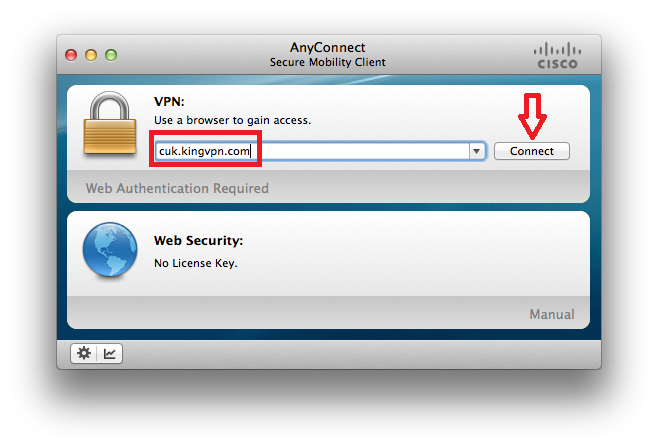
In the Server Address box, enter KingVPN Server Address. Server addresses listed in below of this page
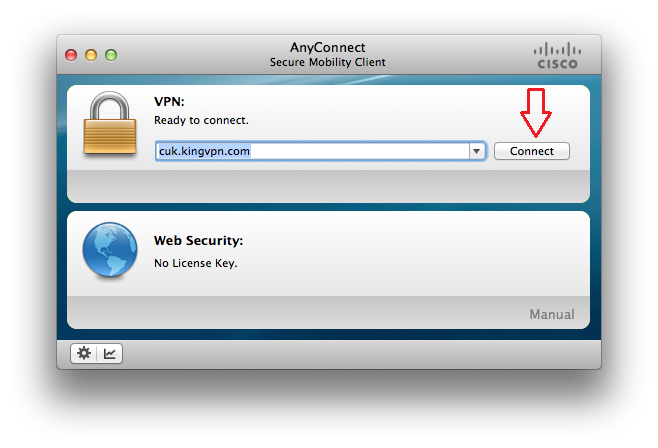
Then click the button labeled Connect
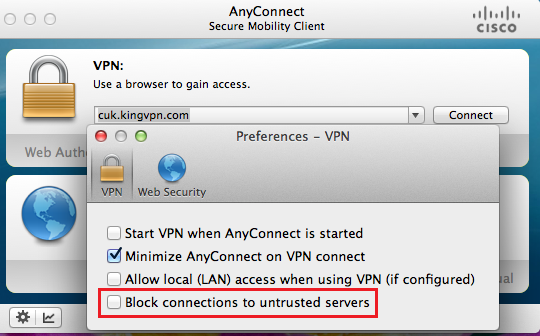
If you get a message like this ,click on “Change Setting..”
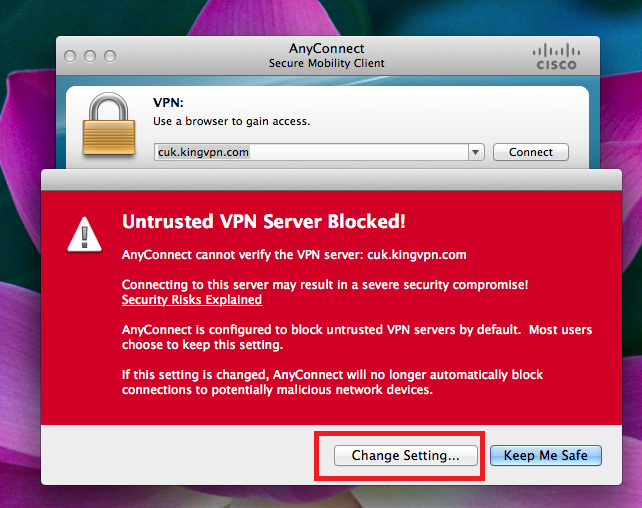
uncheck “Block connection to untrusted servers”
Click on the “Connect” button
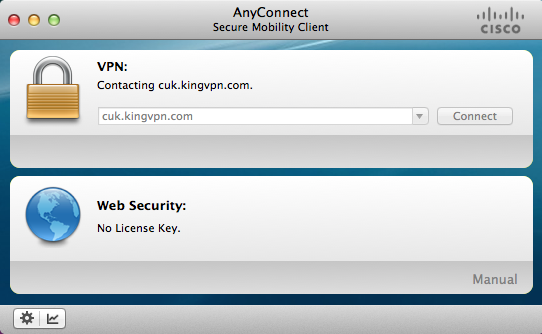
Enter your KingVPN username and then click the button labeled OK.
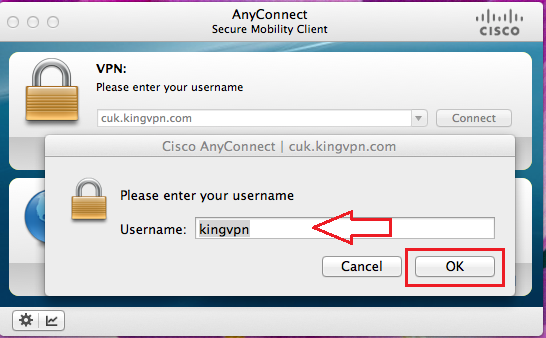
Enter your KingVPN Password and then click the button labeled OK.
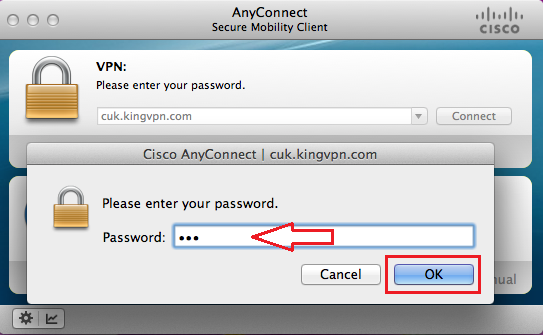
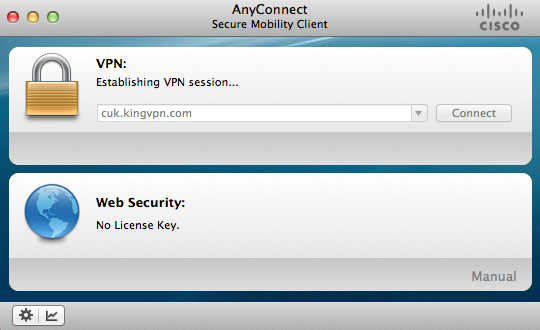
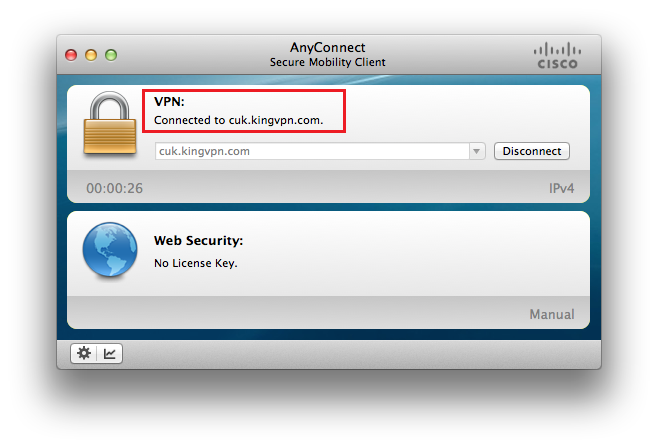
Now you are connected to KingVPN Cisco server.
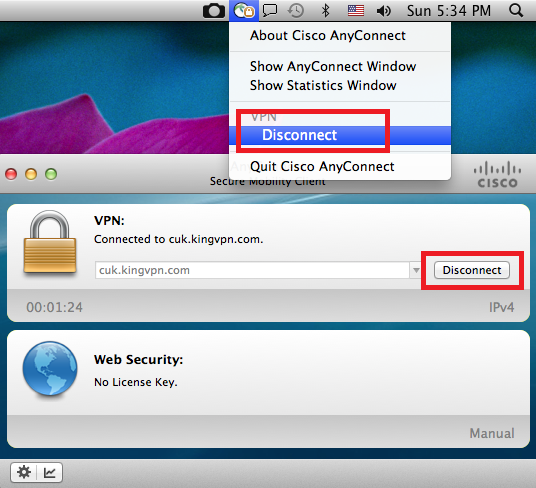
Disconnect your Cisco VPN as below.
You can see servers address here
