Windows 8 L2TP VPN Setup Tutorial
Setting up KingVPN with L2TP access under Windows 8 is again simple. The following instructions go step-by-step through the creation process of a L2TP connection.
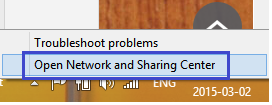
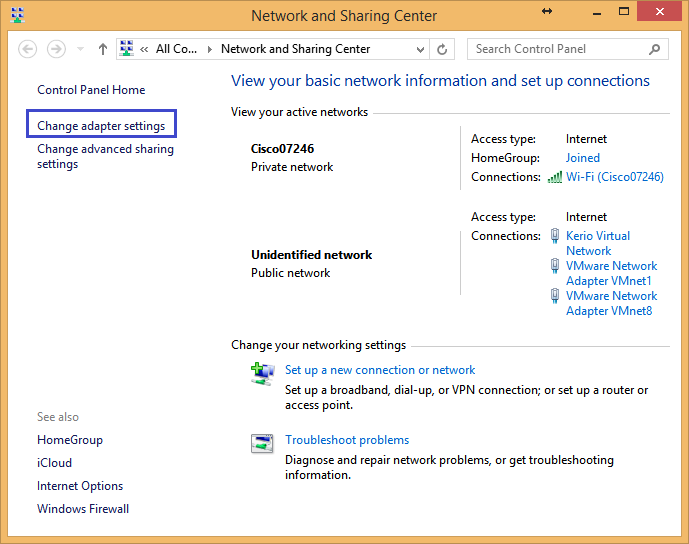
First,Right–click on the network area, and choose “Open Network and Sharing Center” .
Then choose Set up a new connection or network.

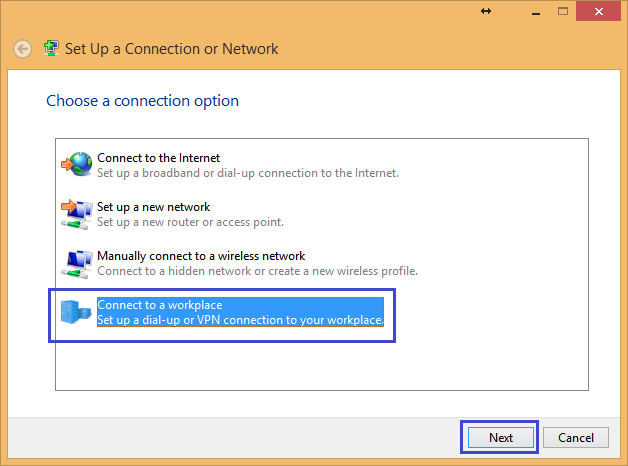
In the next window, choose Connect to a workplace..
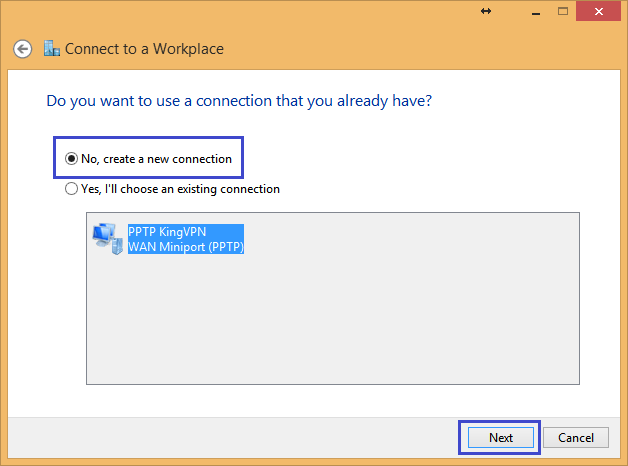
Select “No, Create a New Connection”, then click on “Next”.
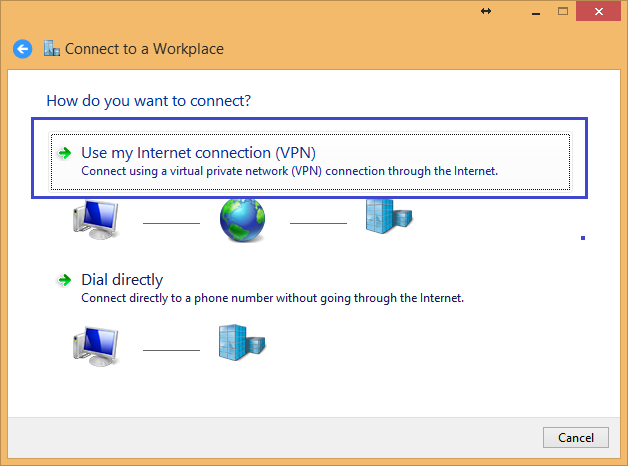
Choose Use my Internet Connection (VPN).
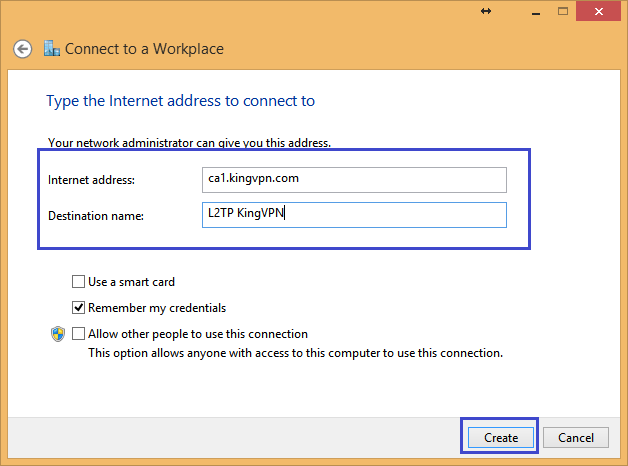
In “Internet Address” section type in the name or the IP address of a KingVPN server
In the “Destination name” type in your favorite name
Server addresses are listed at the bottom of this page
Then Click on the “Create” button
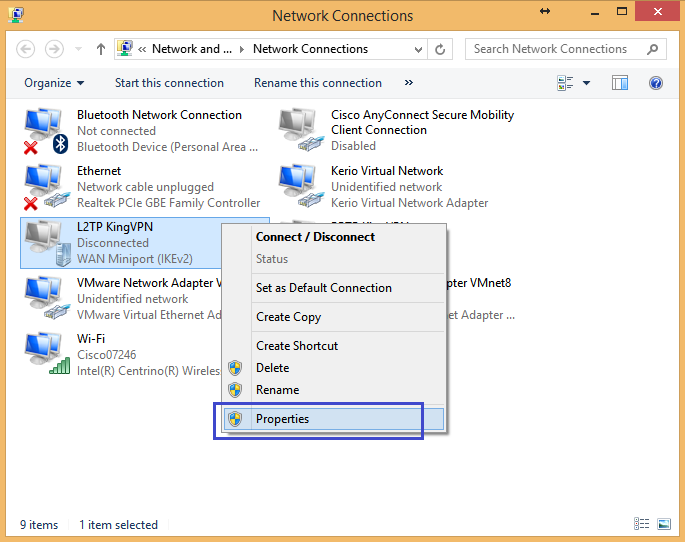
Click on the Network card , you should see the KingVPN L2TP Connection that you have just set up.

Click on “Change Adapter Settings”.
Right–Click on the KingVPN connection , and choose Properties from the menu.
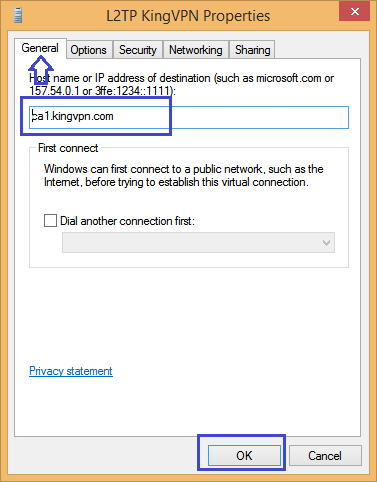
Select the General tab and in the Specified location you can put or change server address
Select tab “Security”, On “Type of VPN ” section, select “Layer 2 Tunneling Protocol with IPsec (L2TP/IPSec)”
On “Date encryption” section, select “Optional encryption (connect even if no encryption)”
Select Allow these protocols and tick as shown in the following picture and then click “Ok”

Next, click the “Advanced settings” button.
The following screen will appear. Click “Use preshared key for authentication” and input the pre-shared key on the “Key” field.

After the above configuration finished, click the “OK” button twice to close the property screen of the VPN connection setting.
You can put or change your Username and Password , then click on the “Connect”
The connection is now ready to use, Right–Click on the KingVPN connection , and choose “Connect/Disconnect” from the menu.
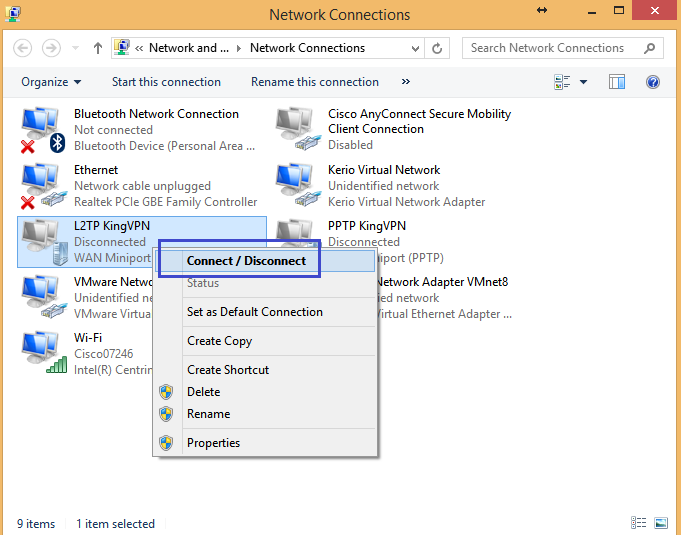
OR, Click on the Network card , you should see the KingVPN L2TP Connection that you have just set up.
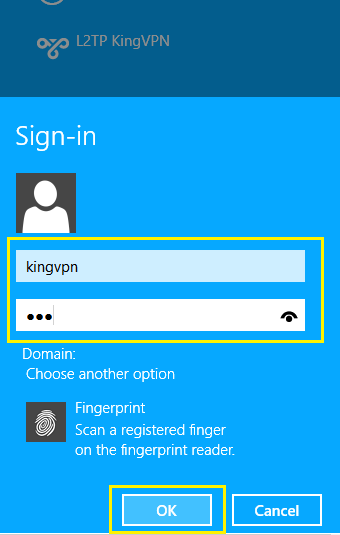
Then Click on the “Connect”

You can put or change your Username and Password , then click on the “OK”
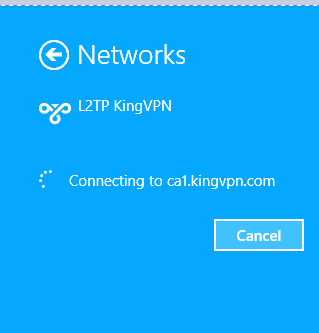
If the VPN connection is successfully established, a VPN connection icon will be listed on the screen which appears when you click the network icon on the bottom-right of Windows screen. The status of the VPN connection icon should be “Connected” .

To disconnect from a VPN connection, Click on the connection, and then click “Disconnect”

While VPN is established, all communications will be relayed via the VPN Server. You can access to any local servers and workstation on the destination network.
You can see servers address here