Setting up a Proxy VPN on Windows 7
This is super easy, and you only have to type one piece of information the entire time!
Please download link below:
Download File
These instructions will guide you through setting up a proxy VPN on your Windows 7.
Run the downloaded file.
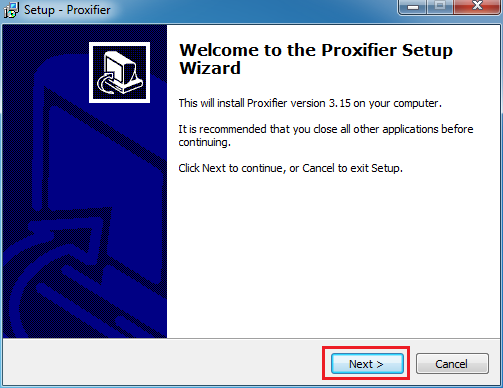
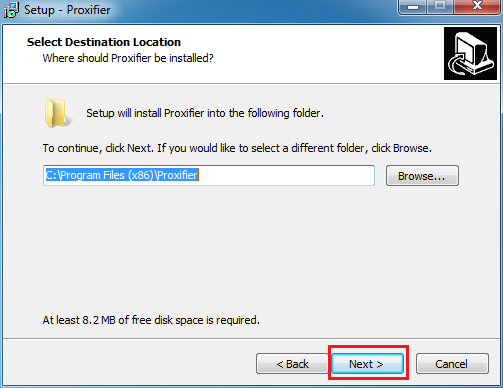
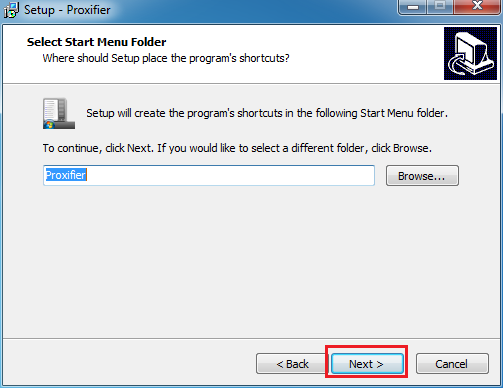
You are now presented with a Wizard. Click Next to continue.

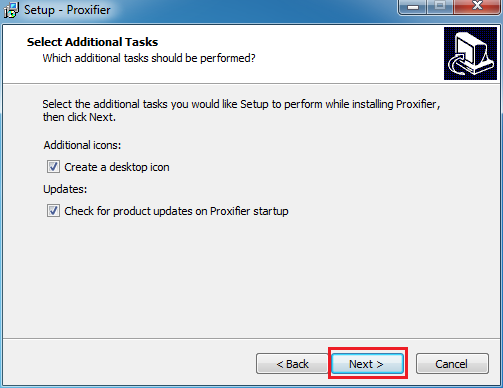
Click on the “Install” button to start the installation program


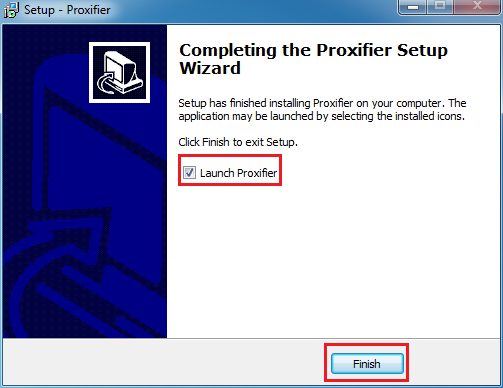
The program was successfully installed ,Select “Launch Proxifier” then Click on the “Finish” button.
When you launch the proxifier for the first time you will be asked for registration key, Please click on the “Enter Registration Key” button.
Enter the below information.
Input “KFZUS-F3JGV-T95Y7-BXGAS-5NHHP” as a Registration Key

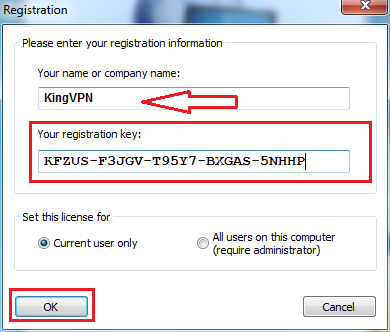
Click on the “OK” button

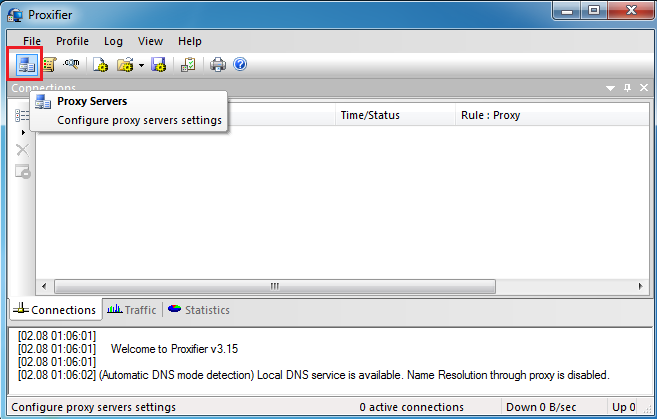
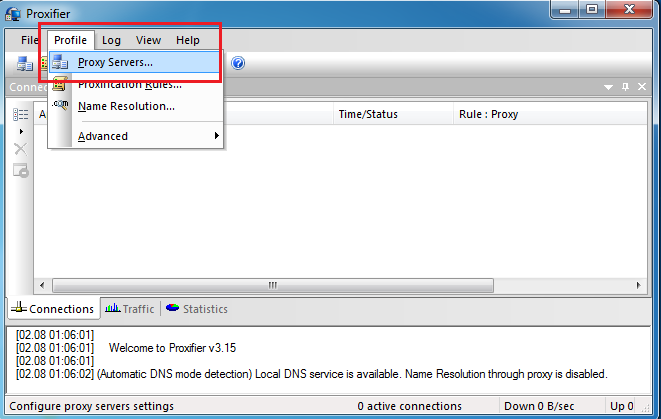
click on the specificed area or open the Profile menu and then click on the Proxy Servers
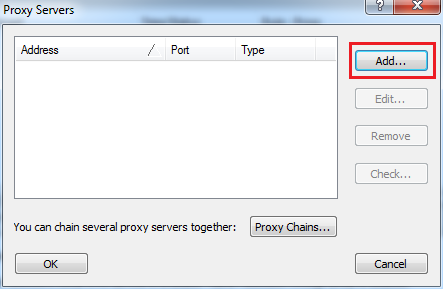
In this section click on the Add button
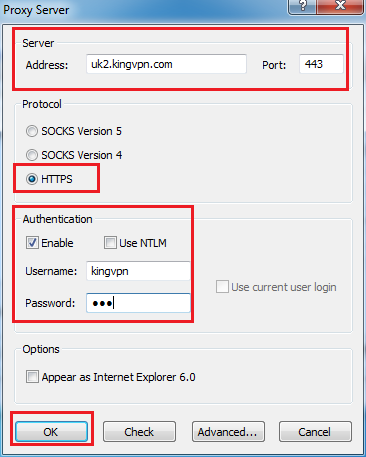
In the Server section input the address of server
Server addresses are listed at the bottom of this page
Port: 443
Select HTTPS in protocol section
Enable authentication and input username and password and then click “Ok”
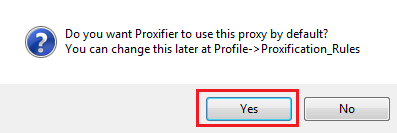
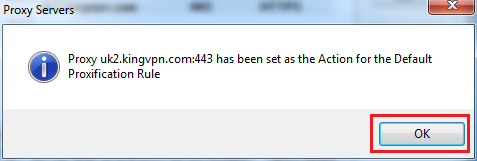
click on the Yes button.
And then click on the OK
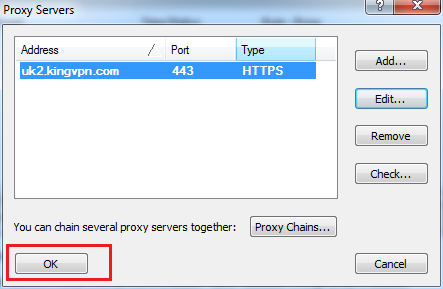
You can edit the setting
Click on the OK
process is complete, You have now successfully been connected to the Proxy VPN server.
You can see servers address here